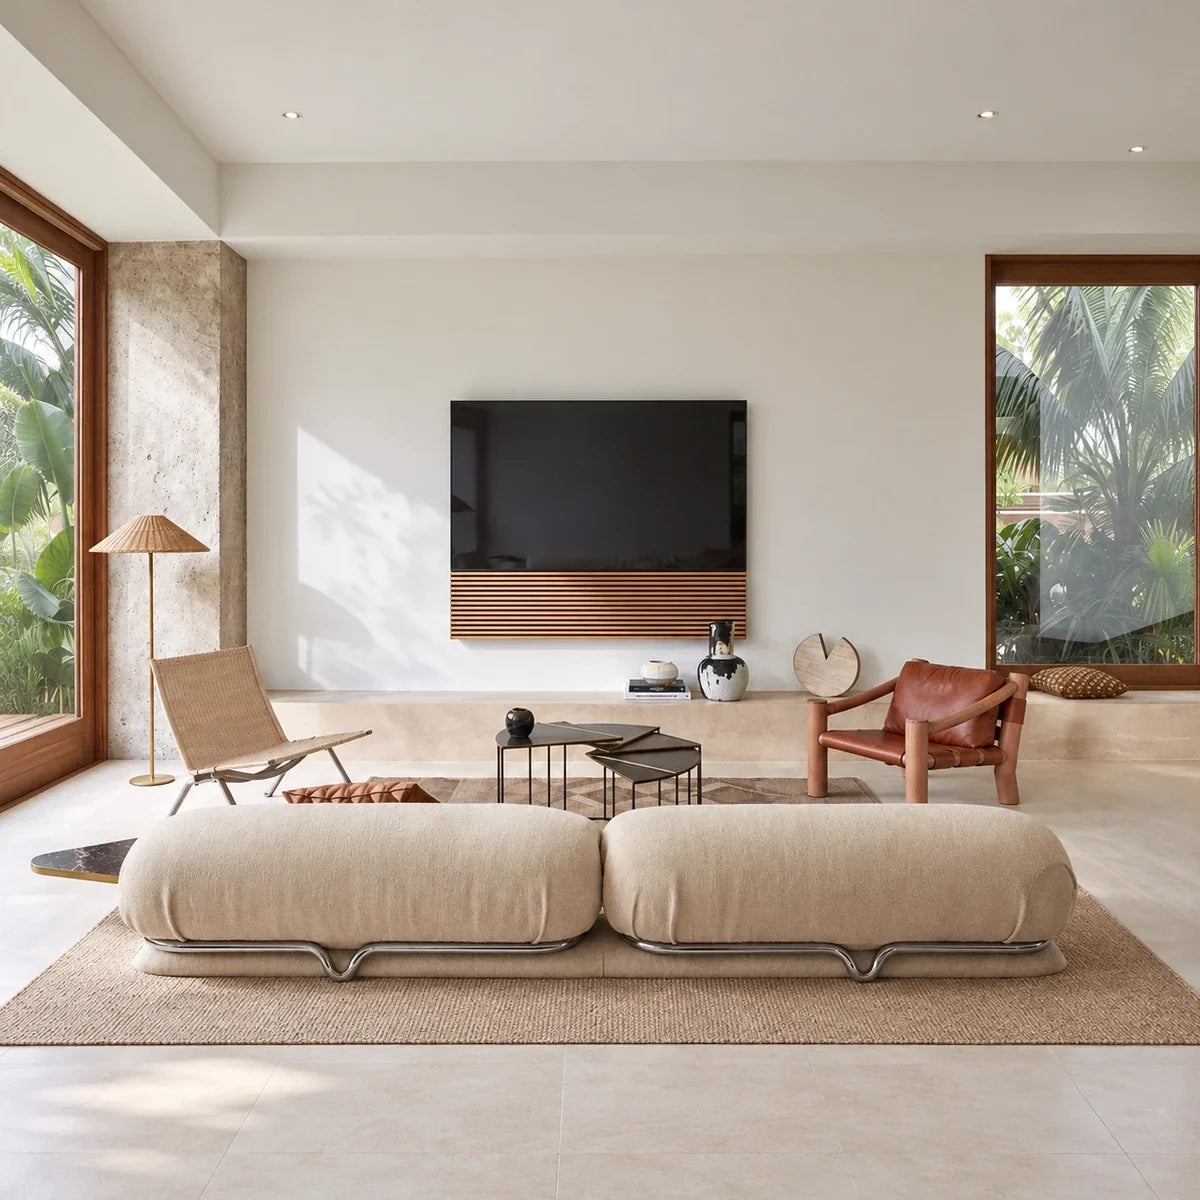



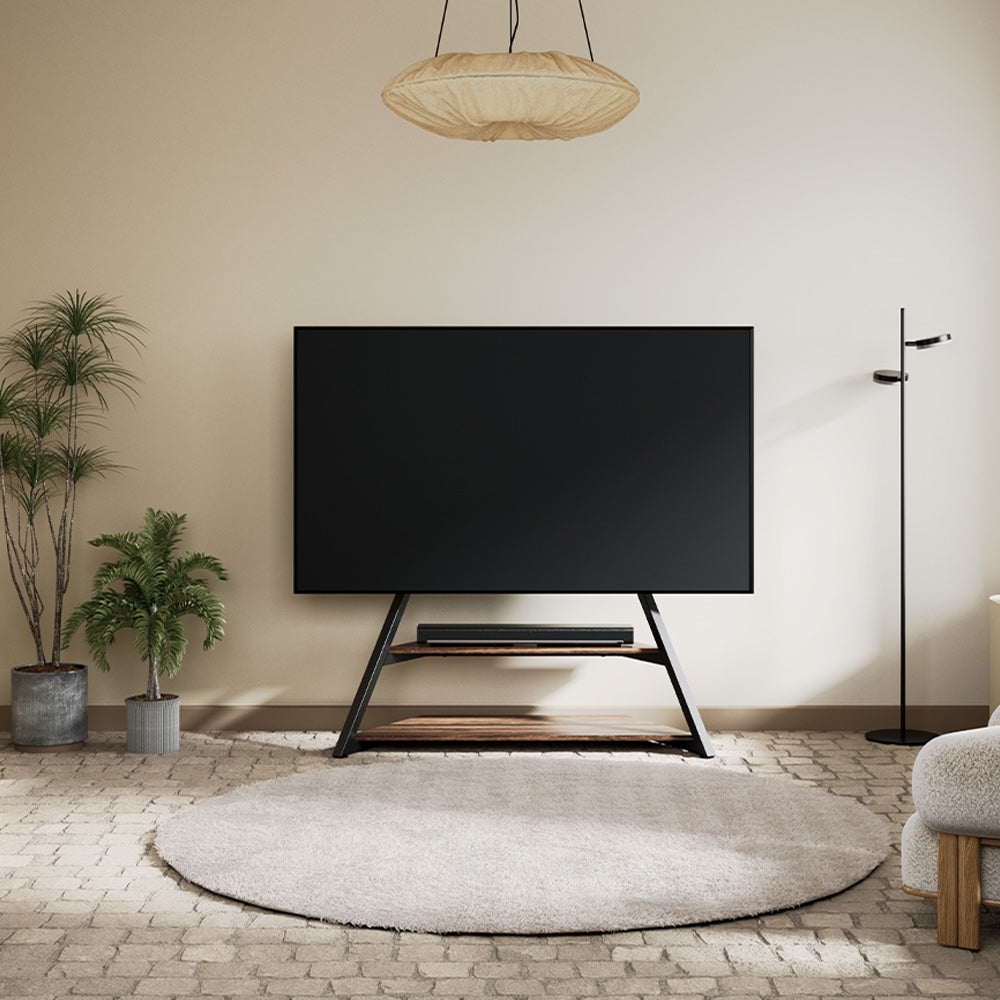
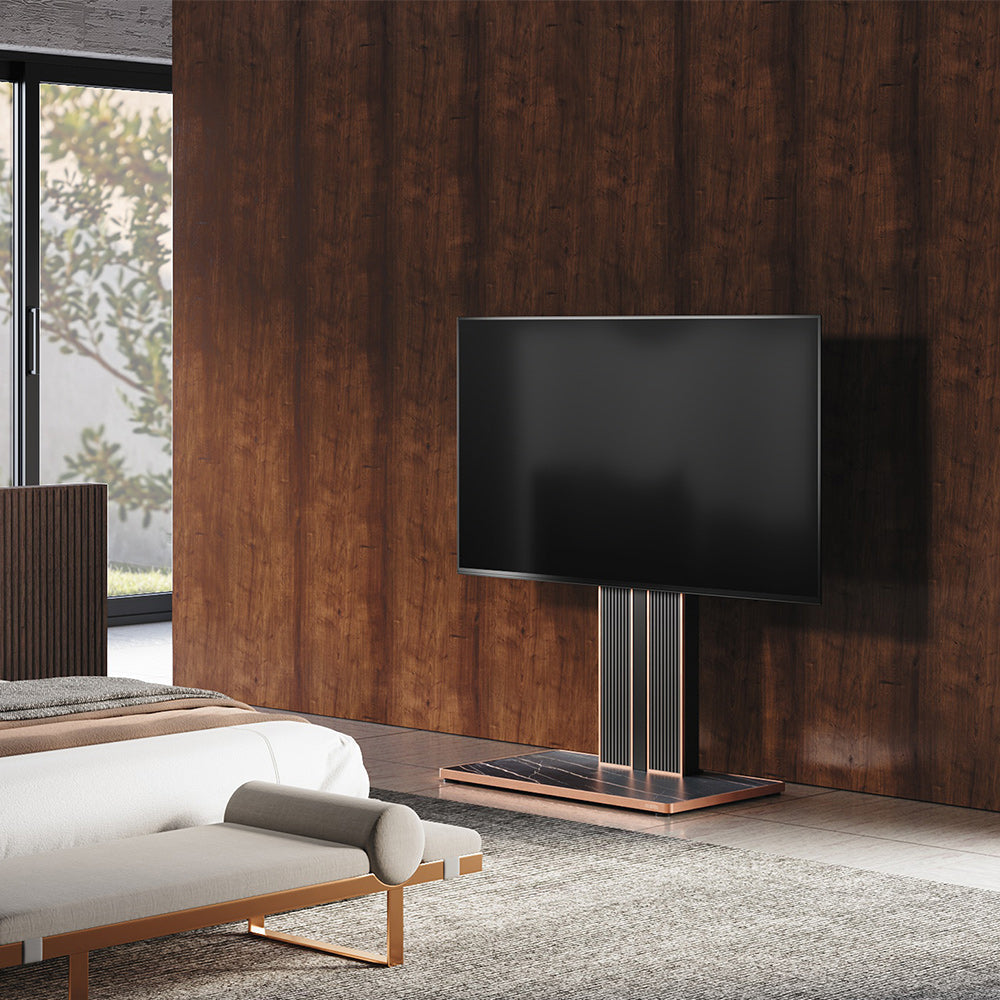
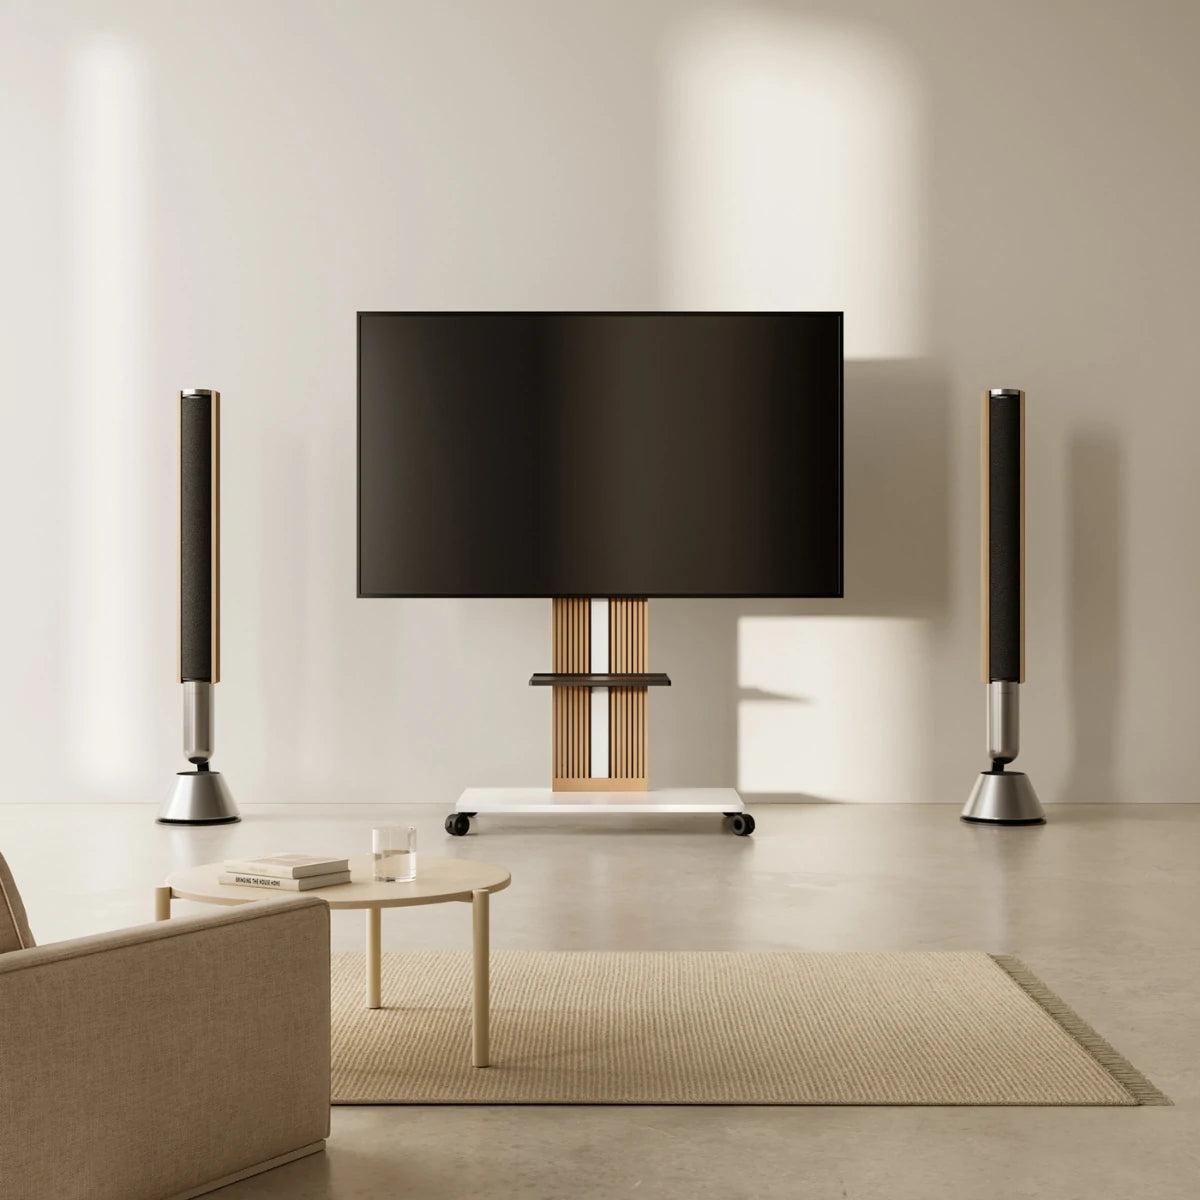
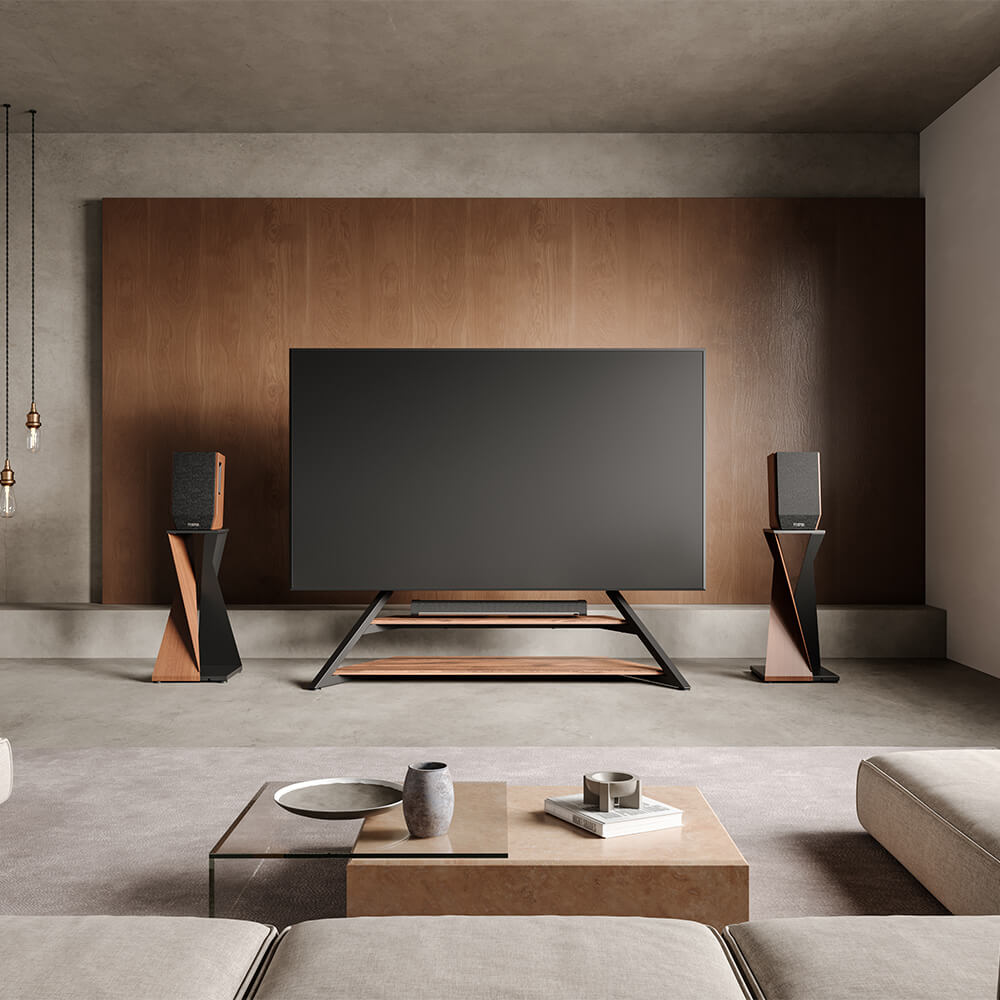

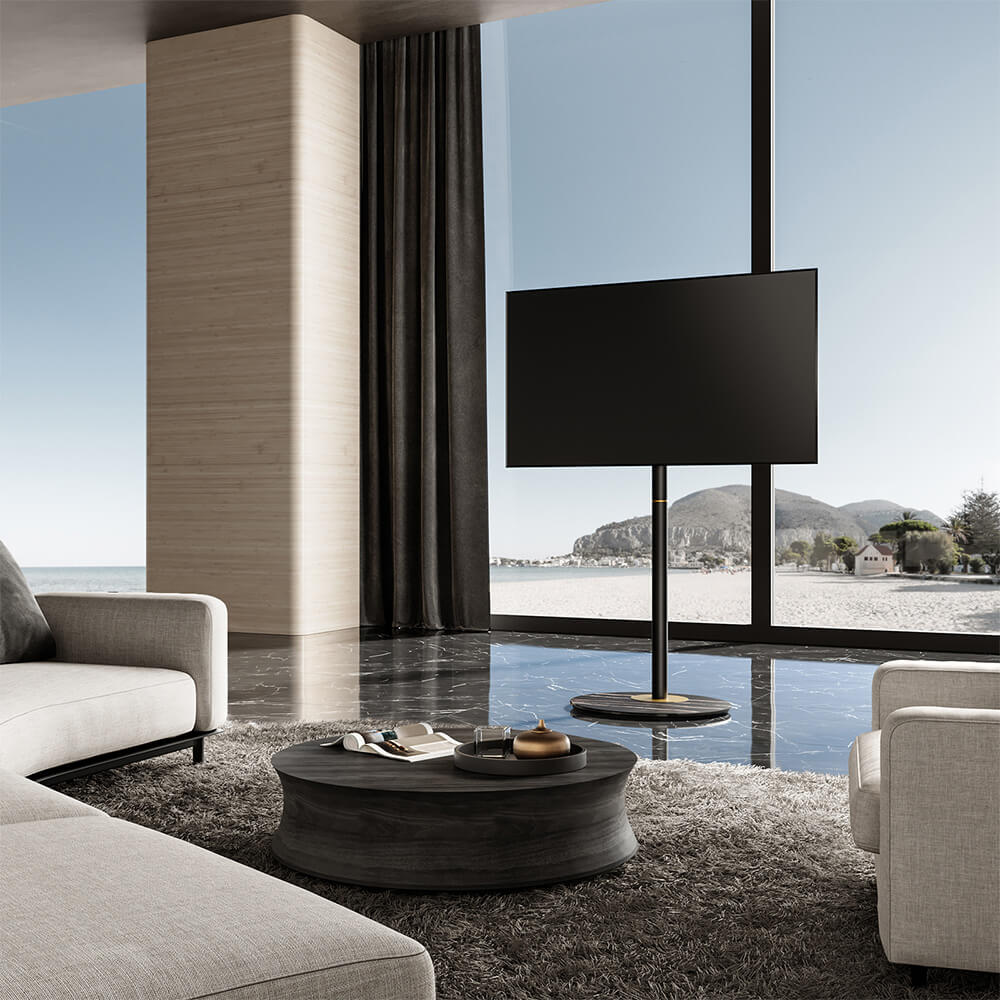
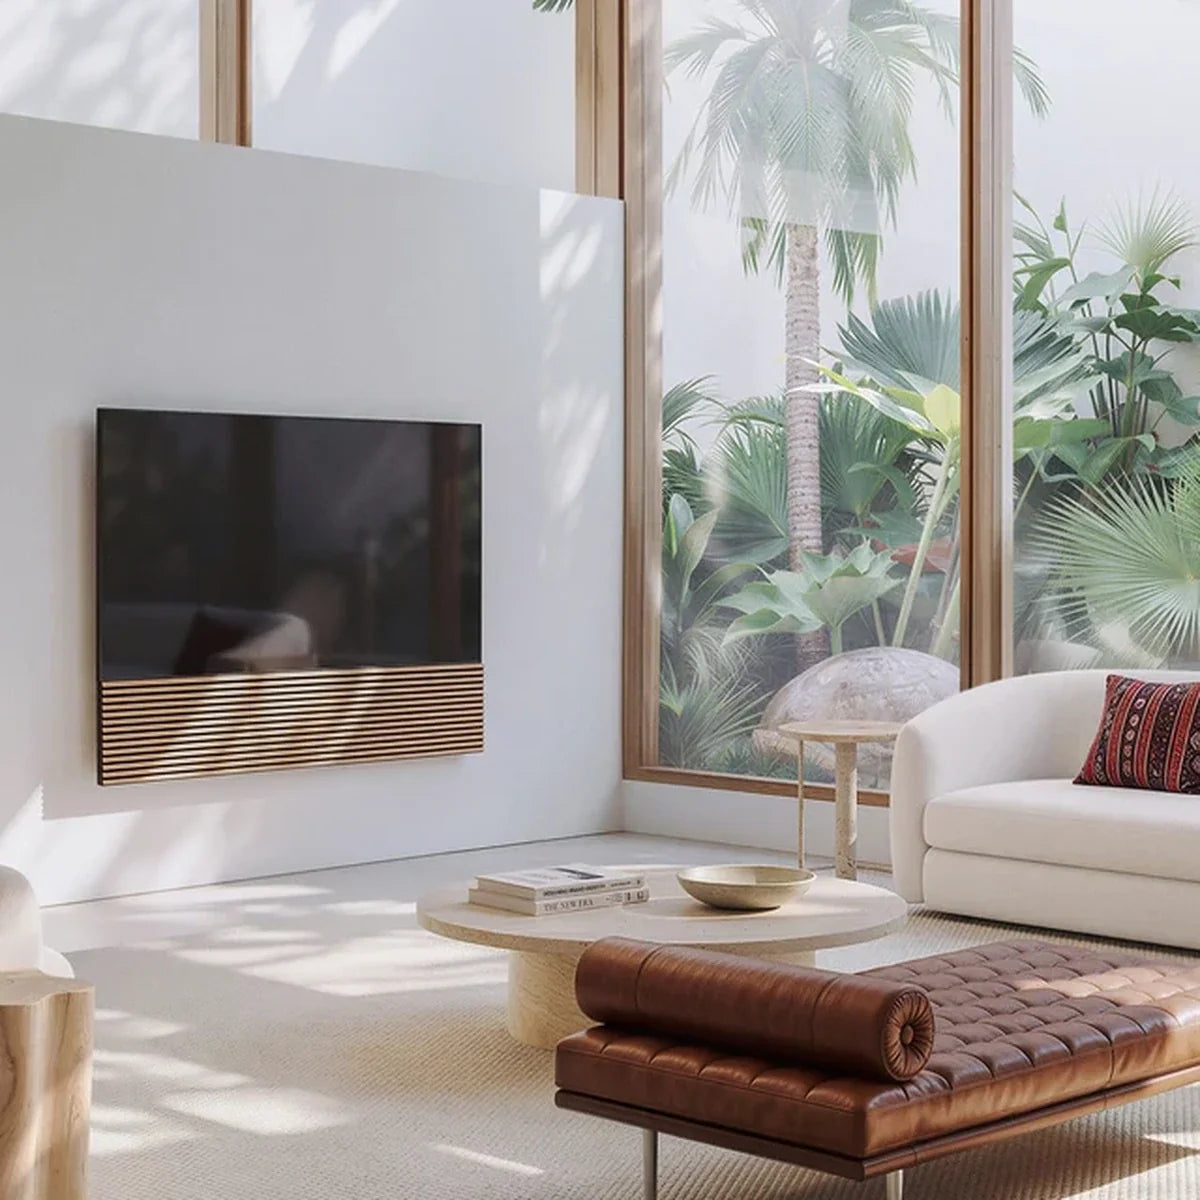
In a wall-mounted system with integrated soundbar housing, height adjustment refines the gap between the television and the housing below it, while depth adjustment brings their front surfaces into alignment. Together, they help the screen and lower unit look like one coordinated installation, with room for connections, ventilation, and access.
These adjustments are useful because compatible televisions can have different body thicknesses and mounting-hole positions. A TV may attach securely yet leave an oversized gap above the housing or project beyond its front panel. Plan the complete system’s wall position around your viewing arrangement first, then use the available adjustments to refine how the television fits with the unit beneath it.
Different TVs Sit Differently on the Same Mount
The advertised screen size describes the visible picture’s diagonal. It does not tell you the television’s overall body height, thickness, or mounting-hole position. Two models in the same size class can therefore occupy different positions when attached to a mounting structure. Even a slim television may have a deeper electronics section behind its lower edge, affecting how far the screen sits forward of the mounting points.
These differences become more noticeable when the TV sits directly above a soundbar housing. A fixed mounting position might leave a generous strip of wall between the two parts, even though the television is securely attached. From the side, the screen may project beyond the lower front panel or sit behind it. Both conditions can make an integrated design look like separate components placed near one another.
Height and depth adjustment address these relationships separately. Moving the screen vertically changes the gap beneath it; moving it forward or backward changes its relationship with the lower front surface. Neither movement changes the television’s width or the dimensions of the soundbar compartment. The selected product version must still provide suitable proportions and support for the television you intend to use.
Height Adjustment Connects the Screen With the Lower Unit
Vertical adjustment helps position the television’s lower edge relative to the top of the soundbar housing. This is useful because the distance between the TV’s mounting holes and its bottom edge differs between models. Stepless vertical adjustment allows the screen to be positioned continuously within the permitted range, making it easier to refine the gap when preset mounting positions leave too much separation.
The complete system’s position on the wall still establishes the overall viewing arrangement. Plan that position using the actual television and system dimensions, checking the proposed screen location from the main seat. The available vertical travel then helps refine the relationship within the installation. It should not be treated as a substitute for choosing a sensible wall position before fixing the system in place.
A coordinated gap also needs to leave the equipment usable. The television may require ventilation space, and the lower panel needs room to be removed as designed. Physical contact between the screen and housing is not the objective. The useful result is a deliberate, consistent separation that respects those requirements and lets both parts read as one arrangement.

Depth Adjustment Brings the Front Surfaces Into Line
Television thickness affects the installation’s appearance from the side. A deeper rear housing can push the screen forward, while a thinner model may sit farther back relative to the lower unit. Front-to-back adjustment compensates for these differences by changing the screen’s position along the depth axis. This helps the front of the television coordinate with the visible grille or fabric panel beneath it.
The reference surfaces are important here. Compare the front of the screen or bezel with the lower unit’s front panel. The back of the television serves a separate purpose when assessing mounting and connection space. Likewise, an adjustment figure describes available movement; it does not by itself state the final distance between the screen and the wall. That position depends on the mounting structure and television together.
Connections need to be included when establishing the final depth. Rear-facing HDMI plugs, power connectors, adapters, and cable bends occupy space beyond the bare TV enclosure. A position that looks suitable before connection may become cramped once the cables are fitted. Follow the installation sequence, then confirm that connectors remain properly seated and the cables have room to follow their intended paths.

A television can need both corrections at once: its mounting-hole position may leave a large gap above the soundbar housing, while its rear profile places the screen too far forward. The 6.7-inch (17 cm) stepless height adjustment and 5.9-inch (15 cm) front-to-back adjustment on the Zen TV wall mount help coordinate both positions. Vertical movement refines the gap above the housing, while depth adjustment brings the screen and lower front panel into line. The system comes in versions for 65-inch (165 cm) and 75-inch (191 cm) TVs, supporting television weights up to 110 lb (50 kg) and VESA patterns from 100 × 100 to 600 × 400 mm.
[product_card1]
Concealed Cables Complete the Integrated Appearance
Height and depth adjustment bring the screen and lower housing into a coordinated position, but hanging HDMI and power leads can still make the installation look unfinished. Routing those connections behind the structure keeps the space around the screen clear and lets the front panel remain the main visible detail beneath it. The concealed cable organization used in Zen TV stands and wall mounts supports that same approach, with the routing arrangement depending on the selected model.
Plan the cable path alongside the final screen position. Rear-facing plugs and cable bends need room behind the television, and the leads must accommodate any movement required during installation and adjustment. Use the designated internal channels, keeping cables clear of fastening points and panel edges. Before securing the arrangement, confirm that connectors remain fully seated and the front panel can be removed as designed without pulling on the wiring. Concealment should leave connections reachable when a device or cable needs changing.
The internal channels organize wiring within the unit; the remaining route to the wall outlet may still need attention. Position connections where they stay accessible, then use a suitable surface raceway for any exposed section where appropriate. These methods for hiding TV wires without cutting the wall explain how to carry that tidy appearance beyond the mounting structure.
A More Connected TV Area
An integrated appearance comes from the relationship between the parts: the gap beneath the screen, the way their front surfaces meet, and the connections kept behind them. Height and depth adjustment give the installer a way to accommodate differences between compatible televisions while maintaining that relationship. The final arrangement should remain accessible when a cable needs changing or the soundbar requires attention.
FITUEYES brings television support and concealed audio storage into a coordinated furniture design. With compatibility and positioning established, the proportions and finish can connect the installation with the surrounding room. The screen becomes part of a complete composition that remains useful throughout everyday viewing and maintenance.
FAQs
What If the TV Overlaps the Soundbar Housing?
Check the installation diagram and confirm that the television is attached at the intended mounting points. If the assembly is correct, use the permitted vertical adjustment to restore the required clearance. Confirm that the screen, ventilation openings, controls, and removable panel remain usable. If the available travel cannot achieve that clearance, the equipment combination or installation position needs reassessment.
What If the Cables Prevent the TV From Sitting at the Intended Depth?
A rear-facing plug, adapter, or cable bend may require more space than the planned position allows. Check the rear connections according to the installation instructions, route the cables through the intended channels, and use the permitted depth adjustment to leave sufficient room without trapping wiring or pressing on connectors. If the TV moves on its own after being secured, stop and check the mechanism’s locking procedure rather than treating the movement as a normal result of connecting cables.
What If One Side of the TV Sits Lower Than the Other?
Check the television and lower housing separately with a suitable level. A sideways slope requires a leveling correction; moving the whole screen vertically will not resolve it. Inspect the hanging and locking points as instructed, then use any permitted leveling adjustment. If the lower unit is uneven or the correction exceeds the mechanism’s range, have the installation checked.